Let’s be honest for a second. Launching your first ad campaign is terrifying.
You’ve got your credit card connected up, you’re staring at that intimidating “Publish” button, and a million questions are racing through your mind. Did I set the budget right? Is the pixel actually working? Am I about to accidentally spend ₹50,000 on an ad that goes to a broken link?
I’ve been there. We all have. There is a specific kind of anxiety that comes with spending money on the internet—especially when you are used to the “free” traffic of Local SEO.
But here is the good news: The difference between a stressful launch and a confident one usually comes down to one thing: Preparation.
Over the last few years, I’ve audited dozens of ad accounts that were “failing.” 90% of the time, the problem wasn’t the product or the offer—it was a missed step in the setup. A broken pixel, a missing domain verification, or a typo in the headline that killed the click-through rate.
That is exactly why I created this Meta Ads checklist.
Think of this as your pre-flight safety check. Pilots don’t take off without checking their flaps, fuel, and altitude, and you shouldn’t launch a campaign without checking your data, creative, and copy.
In this massive guide, I’m going to walk you through the ultimate Meta Ads checklist to ensure you are 100% ready to launch. Whether you are running ads for your own Shopify store or managing a client’s budget, stick to this list, and you’ll sleep a lot better at night.
Table of Contents
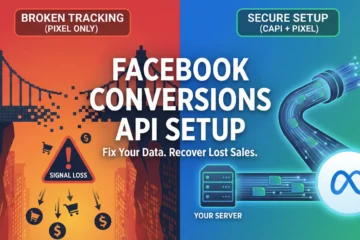
The Foundation: Account & Security Setup
Before we get to the fun, creative stuff, the first section of your Meta Ads checklist has to be the boring (but critical) backend setup. If this isn’t right, Facebook—sorry, Meta—will shut you down faster than you can say “CPA.”
1. Business Manager vs. Ad Account
Are you running ads from your personal profile? Stop immediately. A professional Meta Ads checklist always starts with a verified Business Manager account. This houses your ad accounts, pages, and pixels safely.
- Why it matters: If you run ads from a personal account and get restricted, you lose everything. A Business Manager protects your assets.
- Action: Ensure you have admin access to the Business Manager, not just the Ad Account.
2. Payment Methods & Tax Info
This sounds normal, but this is the #1 common reason many campaigns pause unexpectedly. Check your payment settings. If you are in India, ensure your GST number is added correctly so you can claim tax credits.
- Checklist Item: Is a valid backup payment method added? If your primary card fails (which happens often with international transactions), your ads stop, and the algorithm learning resets. Don’t let that happen.
3. Two-Factor Authentication (2FA)
This is now a mandatory part of any Meta Ads checklist. Meta is extremely strict about security. If your admins don’t have 2FA turned on, your account might get restricted without warning.
- Action: Force 2FA for everyone who has access to your Business Manager. It’s annoying, but getting hacked is worse.
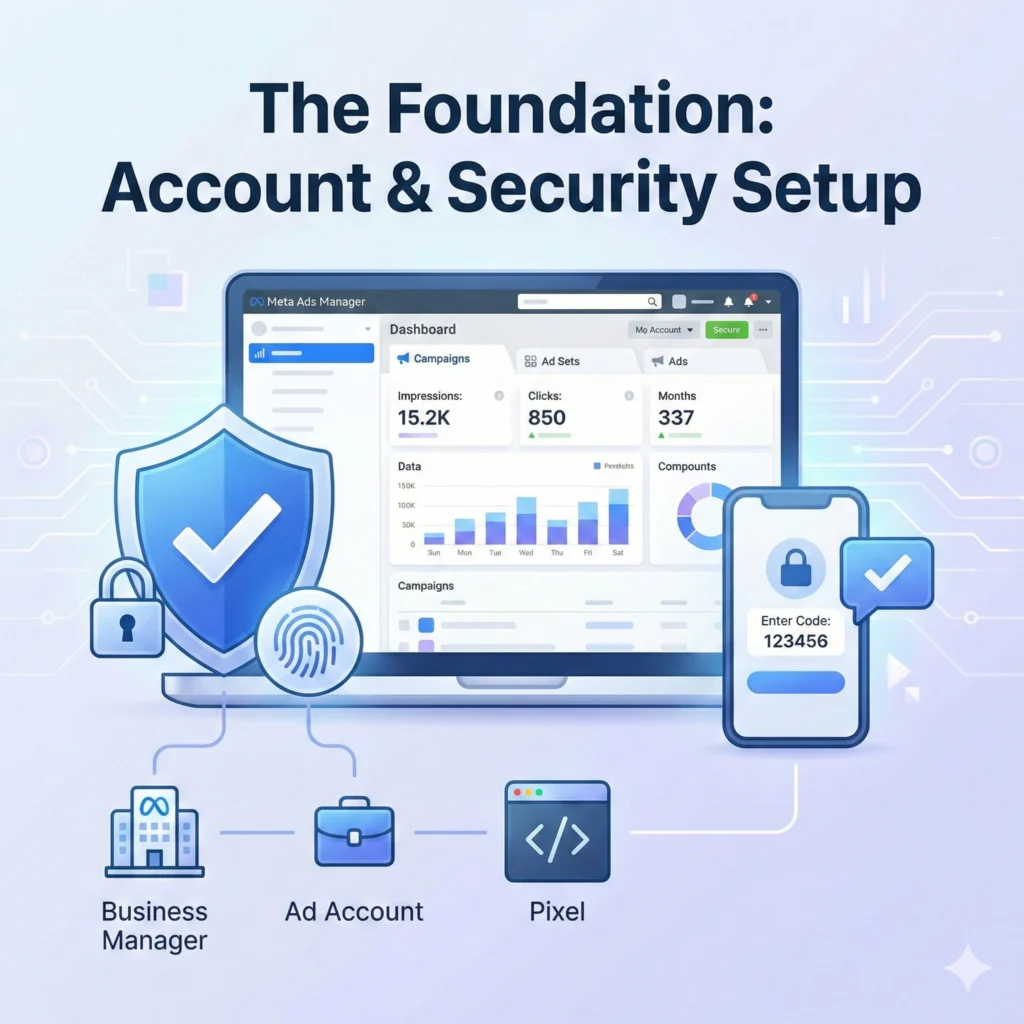
The Technical Check: Pixels & Tracking
You cannot improve what you cannot measure. Unlike [SEO Strategy], where results take months, ads are instant—but only if you track them. This is the part of the Meta Ads checklist where most beginners get stuck.
4. The Meta Pixel
Is your Pixel installed? Great. But is it firing? Use the “Meta Pixel Helper” Chrome extension to verify. You should see a green checkmark when you visit your website.
- Crucial Step: Don’t just check the homepage. Check the “Add to Cart” page and the “Thank You” page. Your Meta Ads checklist is incomplete if you aren’t tracking specific events.
5. Domain Verification
Since the iOS14 update a few years back, verify your domain is non-negotiable. Go to Business Settings > Brand Safety > Domains. If your domain isn’t verified, you can’t prioritize which events (like Purchases or Leads) Meta should track. Add this to your Meta Ads checklist immediately.
6. Conversions API (CAPI)
In 2026, relying solely on the browser Pixel is risky because of ad blockers and privacy updates.
- The Fix: Set up the Conversions API. This sends data directly from your server to Meta, through the browser. Most platforms, like Shopify or WordPress, have a simple plugin for this. A modern Meta Ads checklist must include CAPI setup for accurate data.
The Strategy: Goals & Budgeting (CBO vs. ABO)
Now that the tech is handled, let’s look at the strategy section of your Meta Ads checklist. You shouldn’t spend a single Rupee until you know why you are spending it.
7. Define the Objective
Meta’s algorithm is smart, but you have to tell it what you want.
- Sales: If you want to make purchases.
- Leads: If you want form fills.
- Awareness: If you just want eyeballs (rarely recommended for small businesses).
- Mistake to Avoid: Don’t choose “Traffic” if you want “Sales.” The algorithm will just find people who click links, not people who buy products. Ensure your Meta Ads checklist confirms the correct campaign objective.
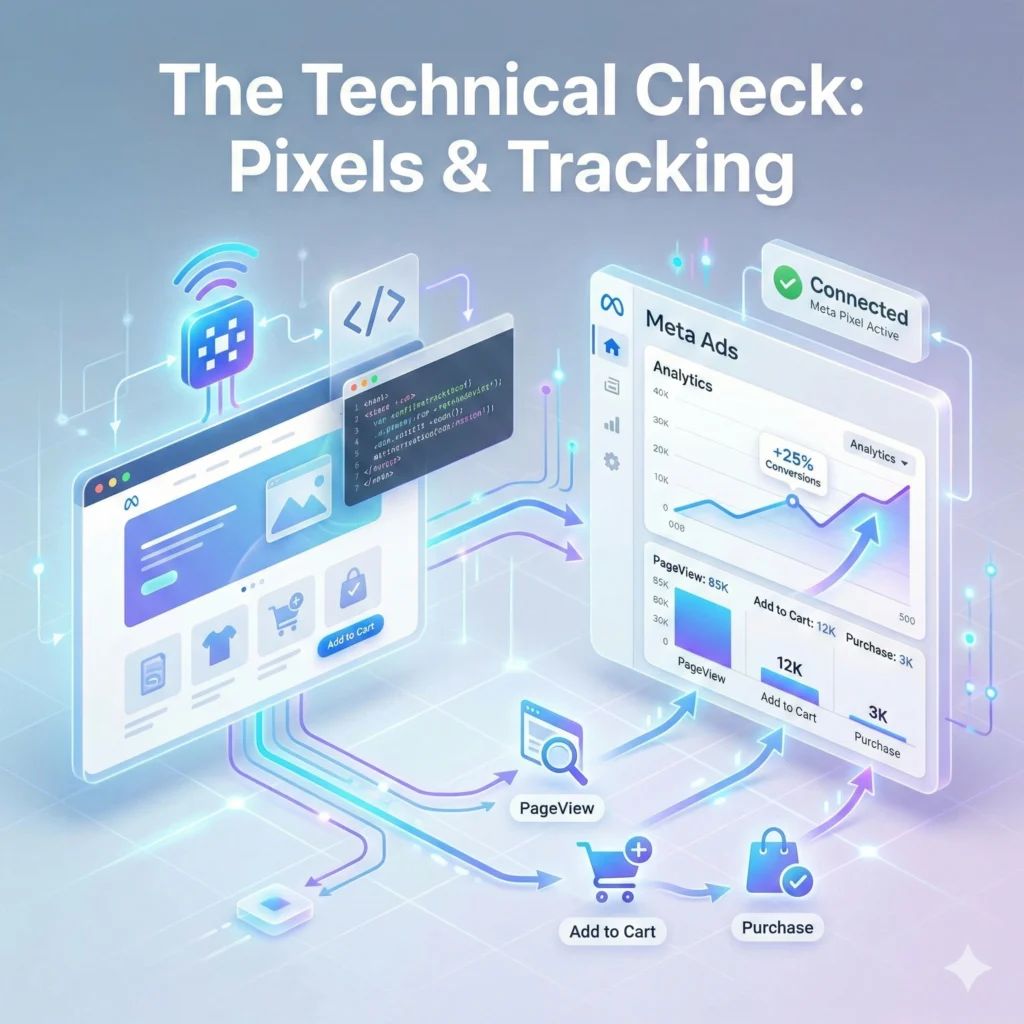
8. The Budget Question: CBO vs. ABO
This is a huge debate. Which one belongs on your Meta Ads checklist?
- ABO (Ad Set Budget Optimization): You set the budget for each audience manually. (e.g., ₹500 for “Yoga Lovers” and ₹500 for “Gym Goers”).
- Best for: Testing new audiences or creatives where you want to force spend.
- CBO (Campaign Budget Optimization): You give Meta ₹1000 total, and the AI decides which audience gets the money.
- Best for: Scaling winning campaigns. The AI is usually smarter than we are at allocating budget in real-time.
For your first campaign, I recommend starting with ABO, so you have full control over testing.
The Audience: Who Are We Talking To?
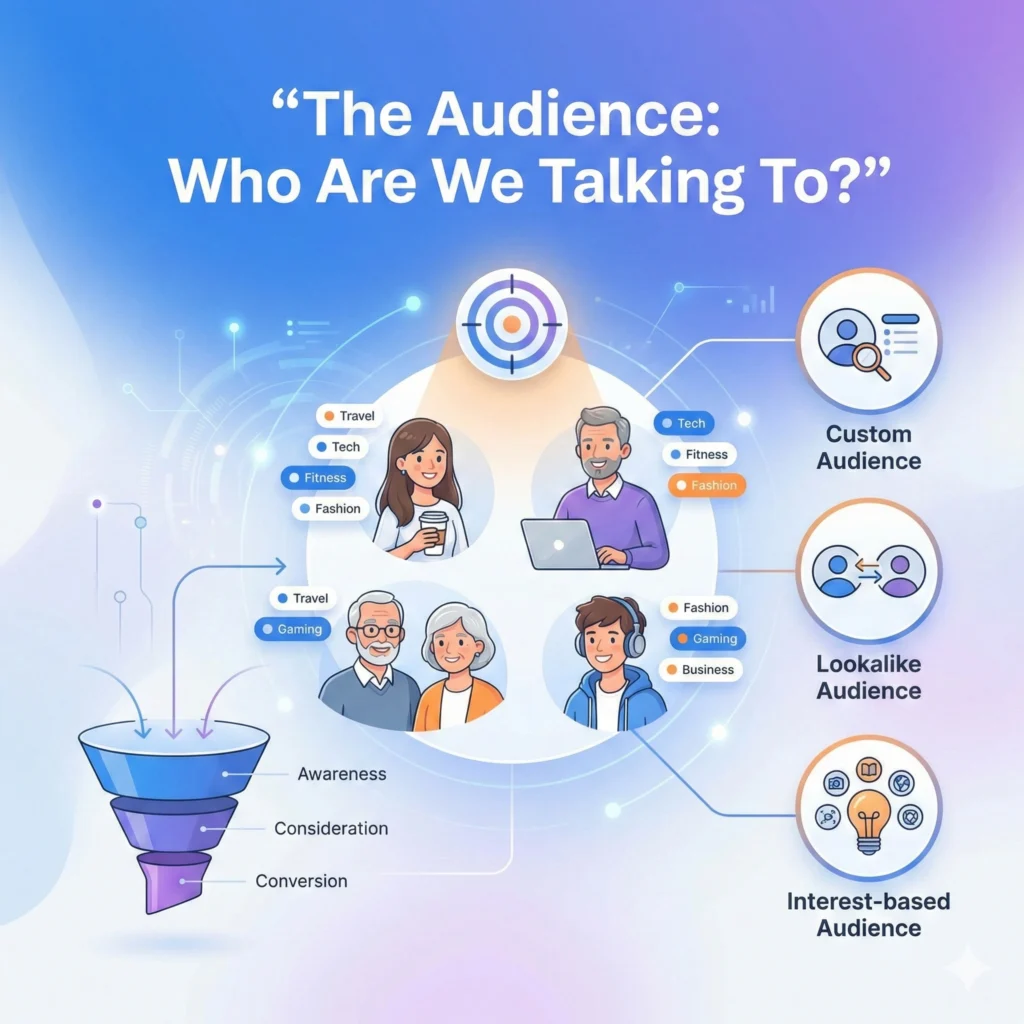
You can have the best ad in the world, but if you show it to the wrong person, it fails. This part of the Meta Ads checklist ensures your targeting is sharp.
9. Cold vs. Warm Audiences
Do you have a strategy for both?
- Cold Audience: People who don’t know you (Interest-based targeting or Lookalikes).
- Warm Audience: People who visited your site or engaged with your Instagram.
- The Check: Your Meta Ads checklist should confirm you are excluding your warm audience from your cold campaigns. Why pay to introduce yourself to someone who already knows you?
10. Custom Audiences & Lists
Do you have an email list? Upload it! Creating a “Lookalike Audience” (LAL) based on your existing customers is often the highest-converting strategy available.
- Action: Go to the “Audiences” tab and create a 1% Lookalike of your Purchasers. Add this to your Meta Ads checklist as a priority test.
11. Location & Demographics
I once audited an account selling winter jackets that was targeting… Chennai. Check your location settings!
- Detail: Ensure you select “People living in this location,” not “People recently in this location” (unless you are a hotel). This is a tiny detail on the Meta Ads checklist that saves budget.
The Creative Assets: Visuals That Stop the Scroll
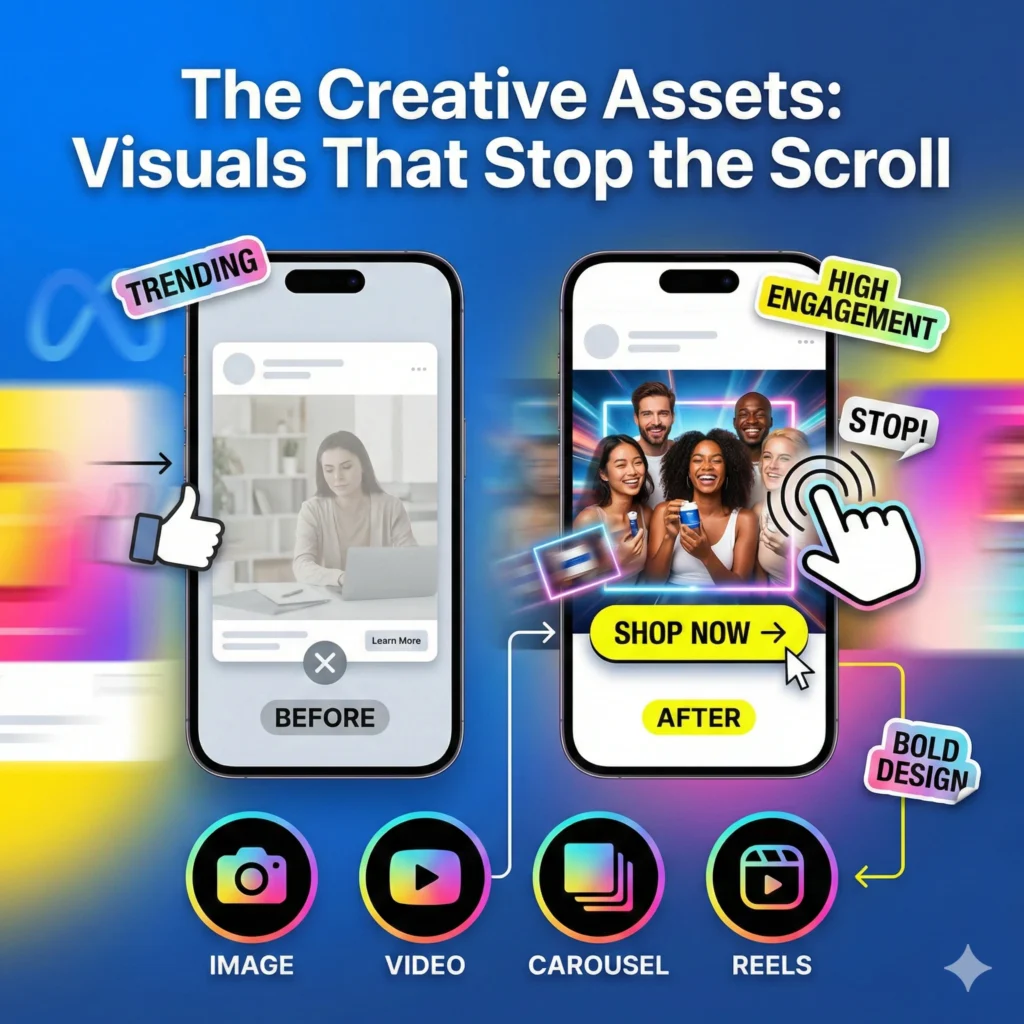
Here is the truth about Meta ads in 2026: Creative is the new targeting. The algorithm is so good at finding people that your creative does the heavy lifting. Your Meta Ads checklist needs to prioritize high-quality visuals.
12. Format Variety
Don’t just launch one image. A robust Meta Ads checklist includes a mix of formats to see what works:
- Single Image: Clean and direct.
- Carousel: Great for storytelling or showing multiple products.
- Video/Reel: Essential for engagement.
13. UGC vs. Polished Ads
What works better? Usually, it’s User Generated Content (UGC). People are tired of polished, “salesy” graphics. A video shot on an iPhone that looks like a real review often outperforms a ₹50,000 studio production.
- Tip: Include at least one “lo-fi” (natural-looking) creative in your launch.
14. The 3-Second Rule
Check your video creative. Does the first 3 seconds hook the viewer? If only your logo spins for 5 seconds before the content starts, you’ve lost them.
- Checklist Action: Watch your ad on a mobile phone. Is the text readable? Is the hook instant? If not, send it back to the design team or work on it.
15. Aspect Ratios
Are you running a horizontal video on Instagram Stories? That looks unprofessional. Your Meta Ads checklist must verify that you have:
- 1:1 (Square) for Feeds.
- 9:16 (Vertical) for Stories and Reels.
The Copywriting: Words That Sell
You’ve stopped the scroll with your image; now you need to close the deal with your words. This section of the Meta Ads checklist focuses on persuasion.
16. The Primary Text (The “Caption”)
Does your copy follow a structure? I recommend AIDA:
- Attention: Hook the reader (“Struggling with low sales?”).
- Interest: Agitate the problem (“Most ads fail because of setup errors.”).
- Desire: Present your solution (“Our checklist fixes this instantly.”).
- Action: Tell them what to do (“Download it here.”). Review your copy against this structure. If it’s just a list of features, rewrite it. A strong Meta Ads checklist prioritizes benefits over features.
17. The Headline
This is the bold text next on the button. It’s the second thing people read.
- Tip: Keep it under 5 words. “Get 50% Off Today” is better than “We are offering a discount for new customers.”
- Test: Does your Meta Ads checklist include testing two different headlines? It should.
18. The Call to Action (CTA) Button
“Learn More” or “Shop Now”? It seems minor, but it matters.
- Advice: “Learn More” is less aggressive and often gets higher click-through rates (CTR) for services (like our [Digital Marketing Services]. “Shop Now” is better for low-ticket e-commerce. Verify the button matches the intent on your Meta Ads checklist.
For Instagram Scheduling Guide Read: How to Schedule Instagram Posts
The Final Pre-Flight Meta Ads Checklist
Okay, the campaign is built. You are hovering over the publish button. Wait! Run through this final, rapid-fire Meta Ads checklist to catch any last-minute errors.
- Check Links: Click every single URL in your ads. Do they open the correct landing page? Is the landing page mobile-friendly?
- Check Spelling: Typos kill trust. Read your copy backwards to catch errors your brain skips over.
- Check Dates: If you are running a “Weekend Sale,” did you accidentally set the end date for next month? Add start/end dates to your Meta Ads checklist.
- Check Placements: Did you accidentally leave “Audience Network” on? (Pro tip: usually turn this off unless you have a huge budget. It’s often low-quality traffic.
- Check Tracking: Is the URL parameter (UTM) set up so you can see results in Google Analytics?
Post-Launch: What to Do Next
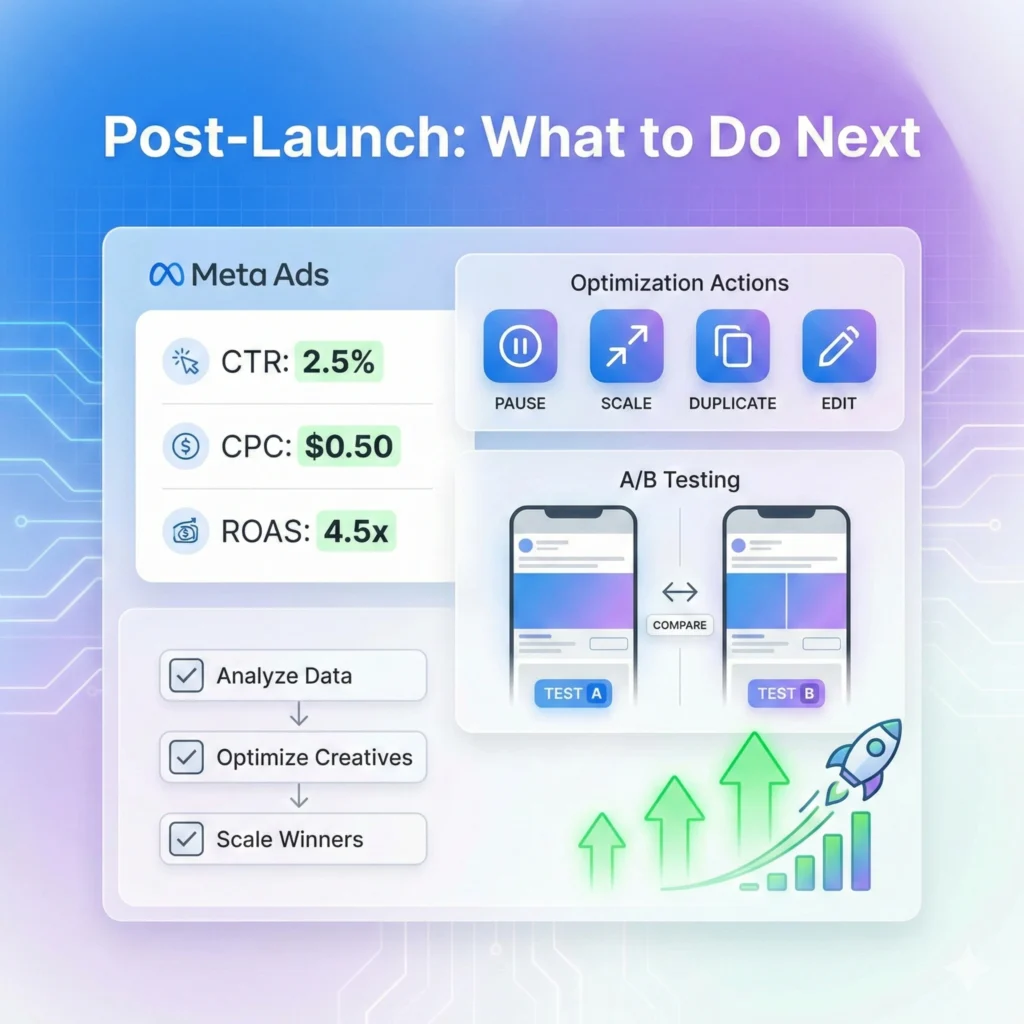
Congratulations! You’ve followed the Meta Ads checklist and hit publish. Now… do nothing.
Seriously.
The “Learning Phase” Anxiety
One of the most important items on your mental Meta Ads checklist is patience. When you launch, the algorithm enters the “Learning Phase.” It is experimenting.
- Day 1-3: Performance might be volatile. CPA might be high.
- The Mistake: Panicking and turning it off after 24 hours.
- The Rule: Don’t touch a new campaign for at least 72 hours. Let the optimization happen.
Analyzing the Data
Once the initial phase is over, go back to your Meta Ads checklist goals.
- High CTR but low sales? Your ad is good, but your landing page might be the problem.
- Low CTR? Your ad creative isn’t appealing. Change the image or headline.
- High CPM (Cost per 1000 impressions)? Your audience might be too small or too competitive.
Scaling: When to Turn Up the Spend
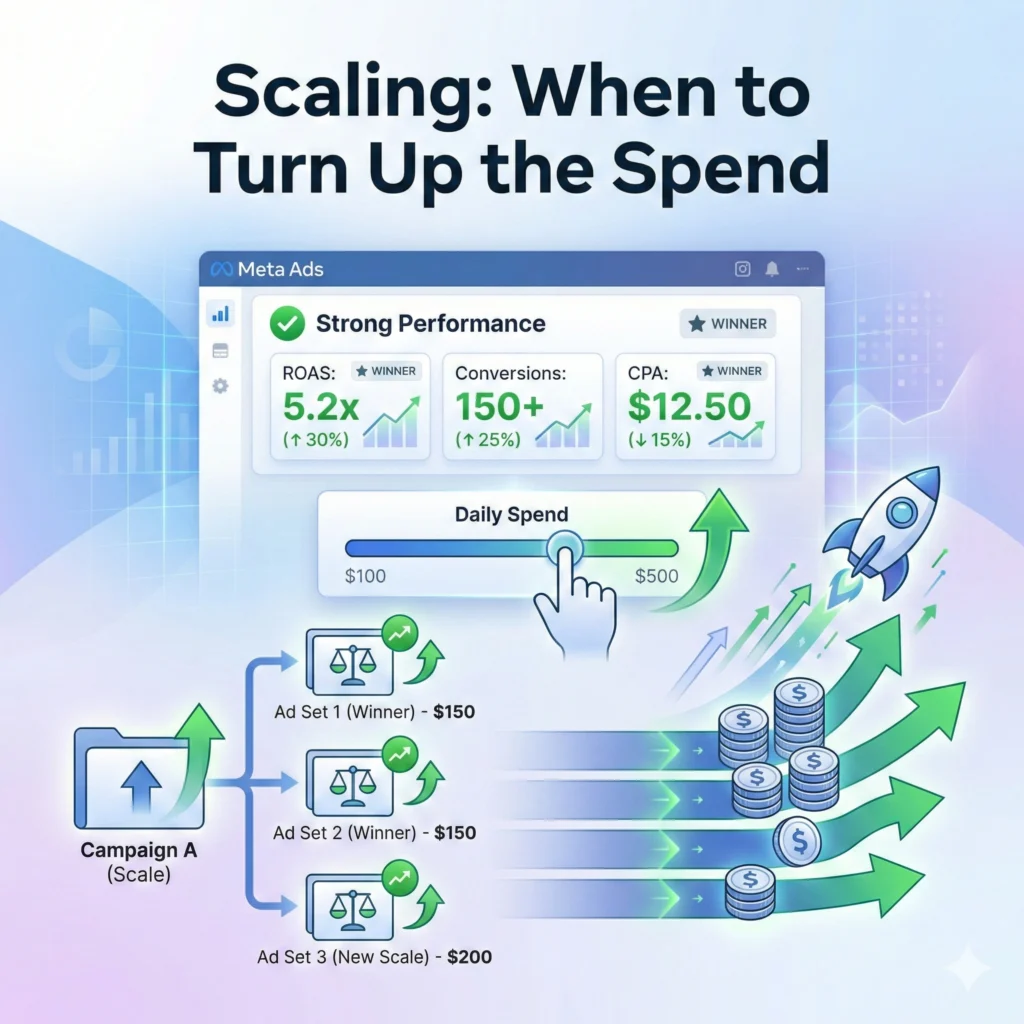
You followed the Meta Ads checklist, and now you are getting sales. Amazing! Now you want to spend more.
Do not just double your budget. If you go from ₹1000 to ₹5000 overnight, you will “shock” the algorithm, and your results will crash.
The 20% Rule
Add this to your future Meta Ads checklist: Only increase your budget by 20% every 2-3 days. This allows the algorithm to find new people slowly without breaking the optimization.
Vertical vs. Horizontal Scaling
- Vertical Scaling: Increasing the budget on the same ad set (using the 20% rule).
- Horizontal Scaling: Creating new ad sets targeting new audiences (e.g., testing “Small Business Owners” if “Marketing Interests” is working).
The “Agency Insight” (The Expert Tip)
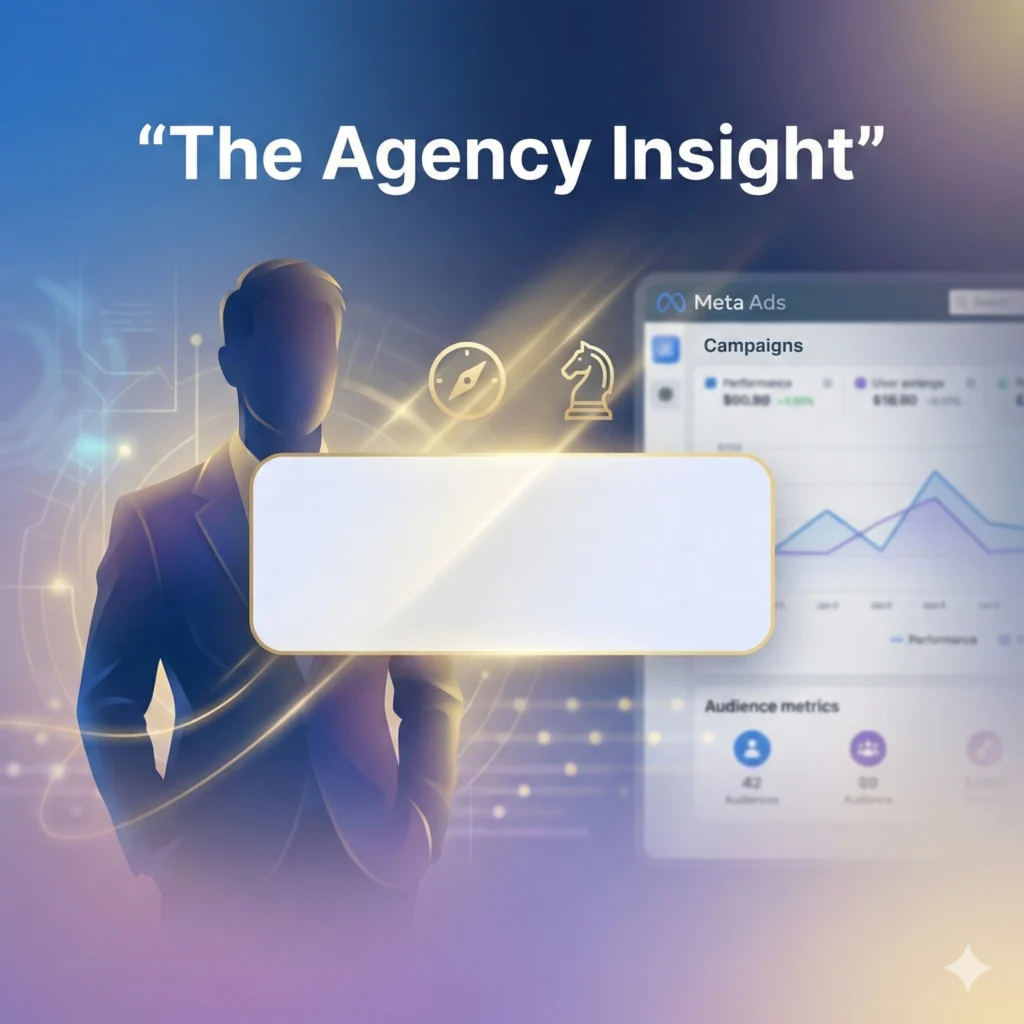
- The Tip: The “24-Hour Rule.”
- The Advice: Never make changes to a new campaign in the first 24–48 hours. Every time you tweak a setting or a budget during the “Learning Phase,” the algorithm restarts from zero. Patience is the most underrated skill in media buying.
Conclusion
Launching a campaign doesn’t have to be a gamble. It is a process.
By strictly following a Meta Ads checklist, you remove the guesswork. You stop wondering if you set it up right and start focusing on how to scale it up.
Remember, even the best marketers in the world make mistakes. They just have better checklists to catch them before the public sees them.
So, bookmark this page. Print it out. Before you launch your next campaign, put it side-by-side with your screen and tick off every box.
Ready to launch? If you have gone through this entire Meta Ads checklist and still feel unsure, or if you want a professional to look over your shoulder, Contact Us today. We’d love to help you get those green arrows seeing up!
Also, if you are focusing on local visibility, don’t forget to check our guide on Google Business Profile Optimizationto capture that organic traffic while your ads run!